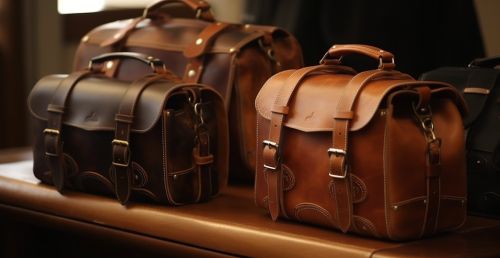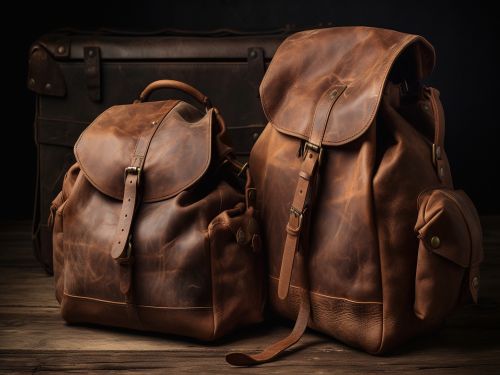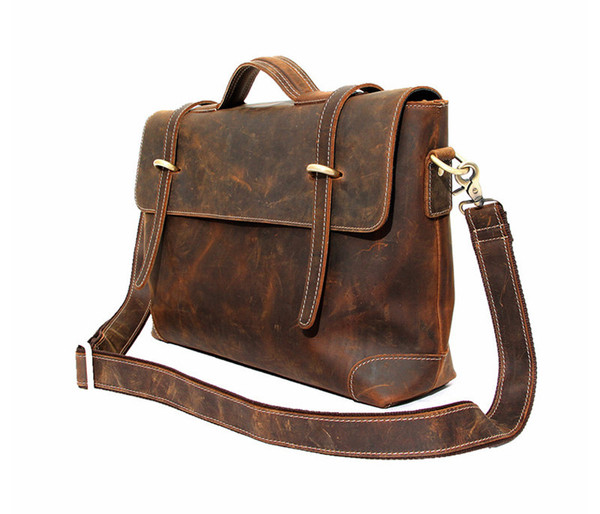
When it comes to leather bags, small scratches and cuts are bound to happen. Whether you accidentally scrape your bag against a rough surface or it gets nicked by a sharp object, these flaws can quickly detract from the appearance of your favourite leather bag. Don’t worry, though! There are methods for repairing small scratches and cuts on a leather bag so that it looks as good as new. In this blog post, we’ll go over how to repair small scratches and cuts on a leather bag step by step. However for any bigger cuts or if you are not so handy with repair etc, we recommend you head to nearest reputed leather repair shop, to keep your bag in prime condition, and let the professional handle the repair.
Step 1: Scrub the area around the scratch or cut.
Cleaning the area around the imperfection is the first step in repairing a scratch or cut on a leather bag. Wipe the area gently with a damp cloth to remove any dirt or debris that has accumulated. It is critical to thoroughly clean the area so that the repair product can adhere properly.
Step 2: Evaluate the damage
Assess the damage next. If it’s a minor scratch or cut, you might be able to repair it yourself. If the damage is severe or affects a large portion of the bag, however, it is best to take it to a professional leather repair shop. Attempting to repair extensive damage on your own may cause additional damage to the bag.
Step 3: Selecting a Leather Repair Product
After assessing the damage, select a leather repair product that is appropriate for the type of leather in your bag. Leather glue, leather filler, leather dye, and leather repair kits are some of the most popular products for repairing scratches and cuts on leather bags. Make sure to carefully read the product label and follow the manufacturer’s instructions.
Step 4: Put on the repair product.
Apply the leather repair product of choice to the affected area. Apply a small amount of leather glue to the scratch or cut and spread it evenly with a toothpick or cotton swab. Apply a thin layer of leather filler over the scratch or cut with a putty knife. If you’re using leather dye, use a small brush to carefully apply it to the affected area. If you’re using a leather repair kit, carefully follow the manufacturer’s instructions.
Step 5: Let the product dry.
Allow the repair product to dry completely after you’ve applied it. Depending on the product, this could take anywhere from a few hours to overnight. It’s critical not to rush through this step because applying pressure or using the bag before the repair product has dried can cause additional damage to the leather.
Step 6: Polish and buff the area
After the repair product has completely dried, buff and polish the affected area with a soft cloth. This will help the repair product blend in with the rest of the leather, making the scratch or cut less visible. If you used a leather dye, you should use a leather conditioner to help protect and restore the leather’s natural oils.
Step 7: Avoid further scratches and cuts.
Now that you’ve successfully repaired the scratch or cut on your leather bag, you must take precautions to avoid future damage. Always keep your leather bag in a cool, dry place and keep it away from direct sunlight or heat sources. Also, be careful where you put your bag and avoid placing it on rough or sharp surfaces.
To summarize, repairing small scratches and cuts on a leather bag is a simple process that can be completed at home with the proper tools and products. Remember to clean the area, assess the damage, select a suitable repair product, carefully apply it, allow it to dry completely, buff and polish the area, and take